On a relaxing weekend, I was making sandwiches when something unforeseen happened.
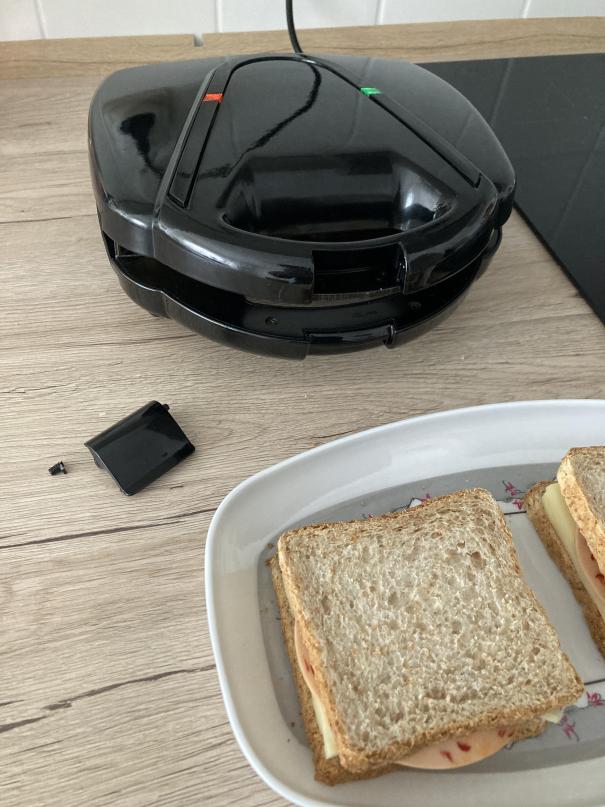
The clip of my sandwich maker broke. Because of such a plastic part, of course, the whole device is not thrown away! In my part-time job as a recycling expert, I made it my business to save items from trash. It’s time to get back to action! In this blogpost I want to talk about the repair process.
Diagnosis
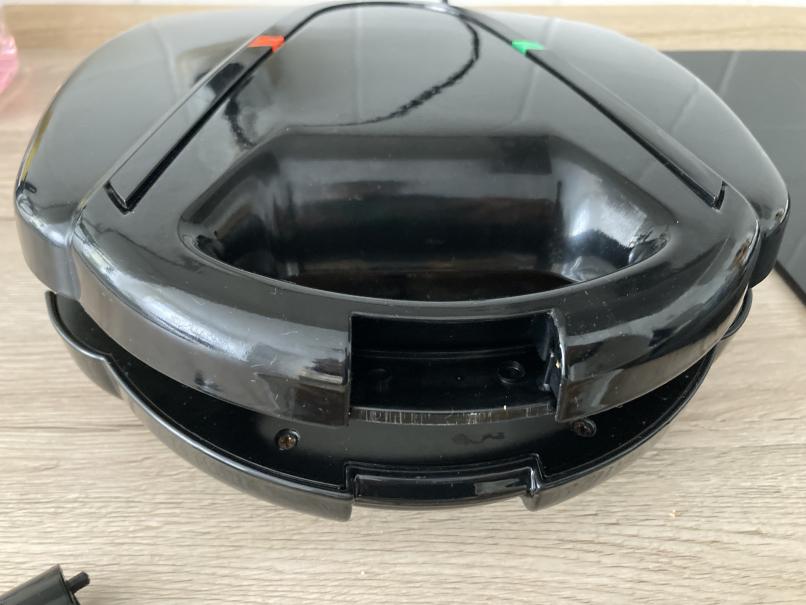
With the help of this clip, you can close the sandwich maker and compress the sandwiches. This combines the sandwich bread with the inner topping and creates a delicious interaction of ingredients. However, you can make delicious sandwiches without this closure. Nevertheless, it is annoying when you can no longer take advantage of this device.
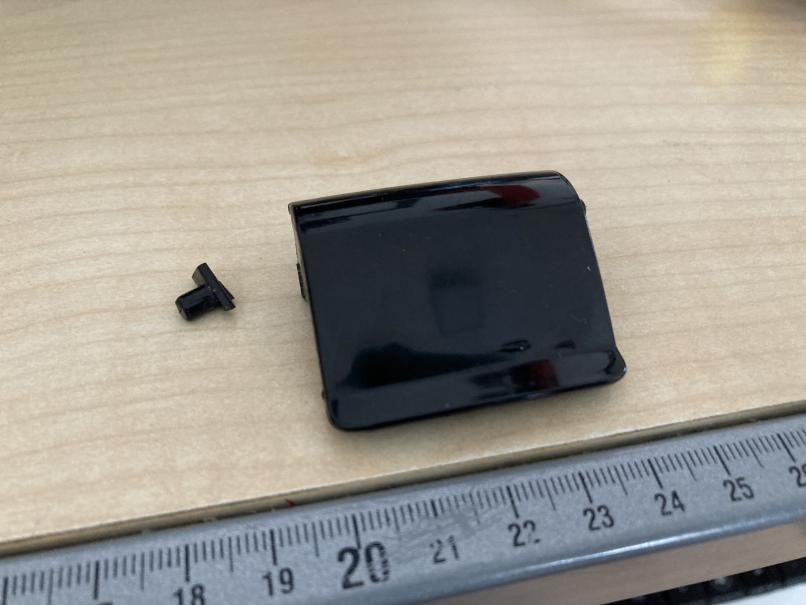
Here is the broken part in a close-up from the front.
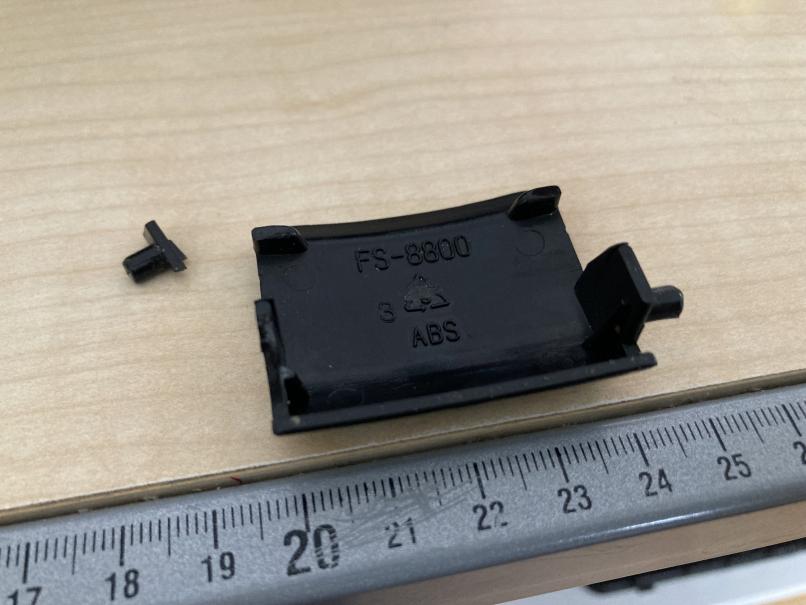
And here from behind. Here you can also see (or at least I can see) what kind of plastic it is. In the triangle I can read a 5, which stands for polypropylene.
Modelling: Prototype 1
By now I am almost a professional when it comes to spontaneous modeling of small parts. With OpenSCAD, such a model is no more than a small programming challenge.
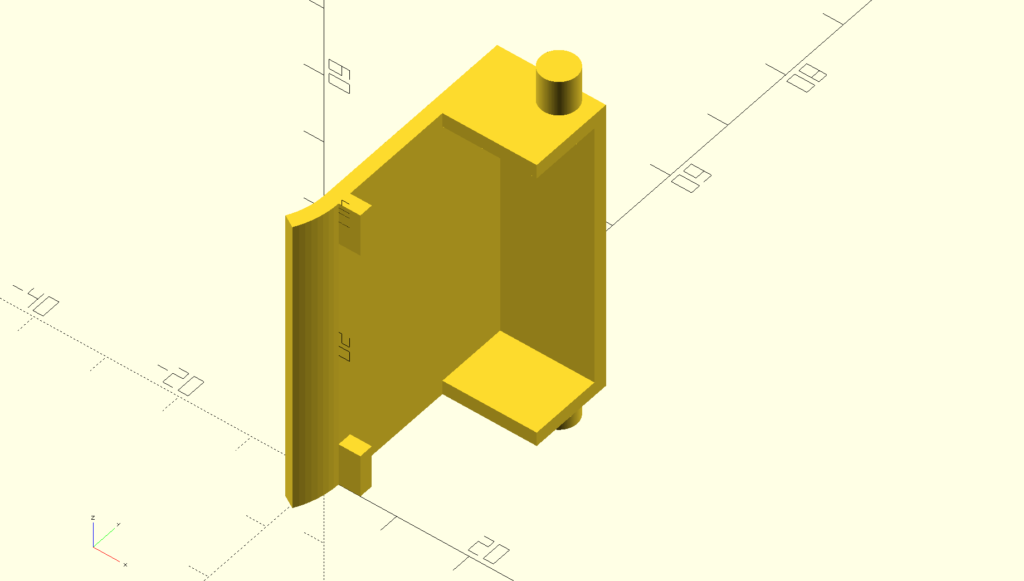
Here is also already the model. I have printed it out and put it into the sandwich maker.
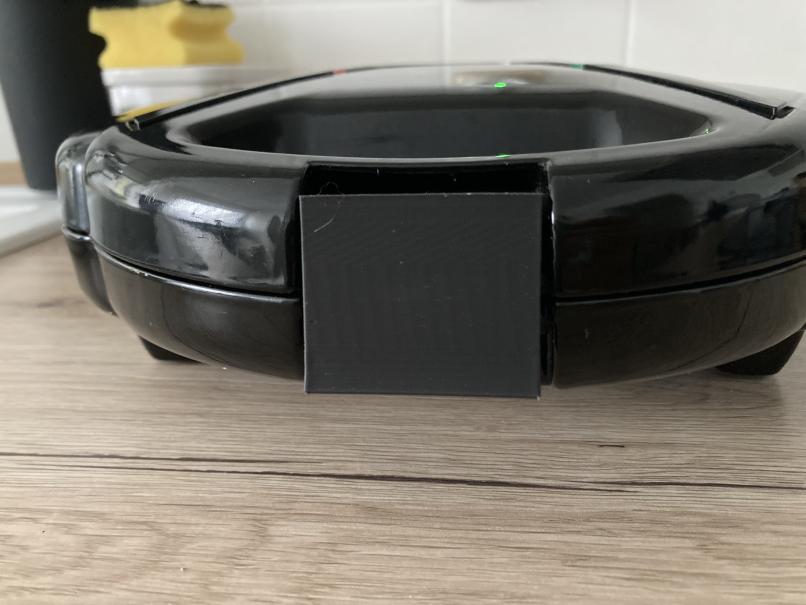
I got the measurements right, but it still didn’t work because I need a curvier shape. I can’t get the clip to close. Time for a second model.
Modelling: Prototype 2
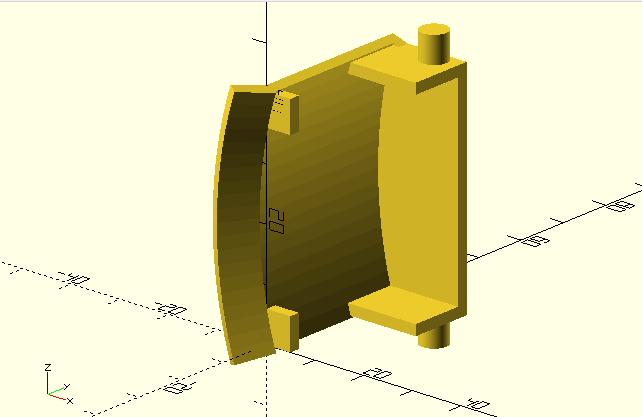
The second prototype has a curved shape to fit snugly into the mold.
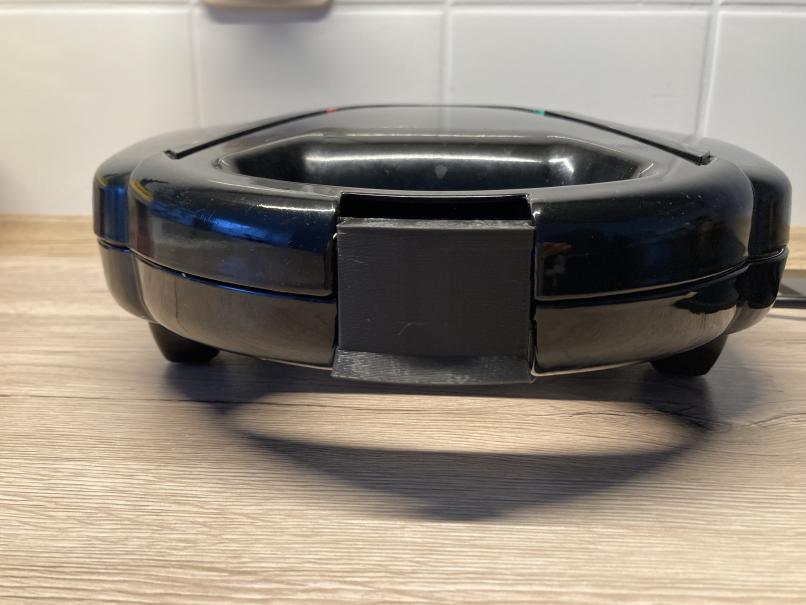
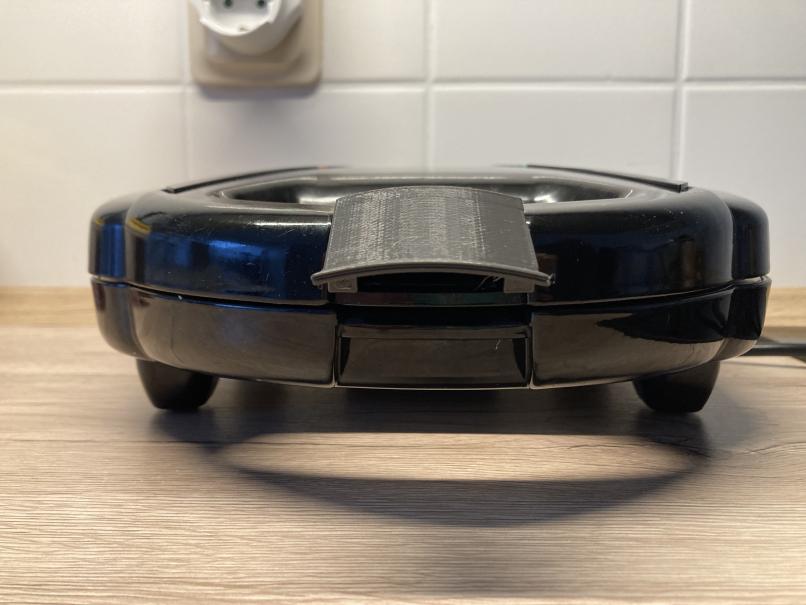
This prototype fits perfectly.
Conclusion
I am happy with the result. The sandwich maker is fixed, it looks good again. The source code of the model is just glued together, but it works. I also shared the model including source code on Thingiverse.